Home >>Selenium Tutorial >Selenium WebDriver Installation
Selenium WebDriver Installation
Selenium WebDriver Installation
Installation of Selenium WebDriver is done in four basic steps:
- Download and update Java Update 8 or higher.
- Download Eclipse or other Java IDE of your choosing and configure it.
- Download Java Application to Selenium WebDriver
- Configure WebDriver to Selenium
1. Download and Install Java
We believe you have already installed Java 8 or higher on your machine and have configured the environment variables needed to run and compile java programs successfully.
After the new version of Java has been downloaded and enabled, you may need to set the route or customize the environment variables inside your system. Refer to the link below to understand how we can set path variables and setup environment in Java.
2. Download and Configure Eclipse IDE
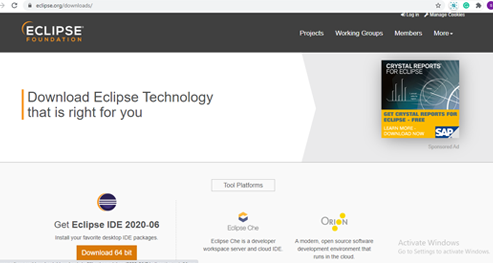

- Open URL: https://www.eclipse.org/downloads/ .
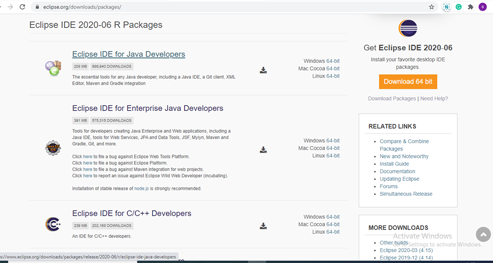
- Click on the "Download Packages" connection (you can also access the IDE directly from the official Eclipse website's "downloads page," but we'll suggest that you browse through the download packages section and get "Eclipse IDE for Java Developers").
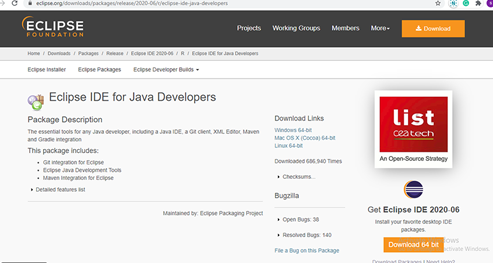
- It will guide you to section on "Download Packages." Tap on "Eclipse IDE for Java Developers" and move down the webpage.
- Go to section Install Links and click on "64-bit Windows" Additionally, you can select other installation choices depending on the operating system you are actually working on.
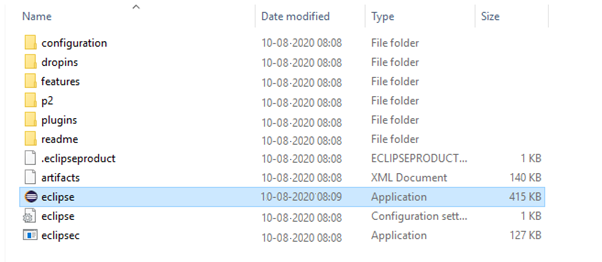
- The file that you access will be in zipped format. Unpack the contents in an correct directory.
- Double click on "eclipse" (.exe file).
- To customize the workspace, pick a convenient directory where you want to store all of your Selenium trails and click on Launch link.
- It will launch the default interface of Eclipse IDE.
3. Download Selenium WebDriver Java Client
It will redirect you to the official Selenium Web site "downloads page."
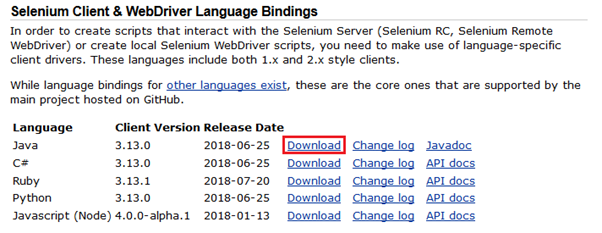
The file that you download would be in zipped format. Unpack the contents in an appropriate directory. It contains the essential jar files required to configure Selenium WebDriver in Eclipse IDE.
- Open URL: https://docs.seleniumhq.org/download/
- Find Selenium Client & WebDriver Language Bindings and scroll down the web page.
- Click on Java Client Driver's "Download" link, as shown in the image below.
4. Configure Selenium WebDriver
We are configuring our Eclipse IDE now with the Selenium WebDriver. Simply put, we'll create a new Java Project in Eclipse and load all of the essential jar files to create Selenium Test Scripts.
Now, in our Test Suite (Demo_Test), we'll add the Selenium jar data.
- Launch Eclipse IDE
- Create a new Java Project from File > New > Java Project.
- Offer the name of your Project as "Demo Test," leaving the other fields unchanged and click "Finish" button.
- It will create a new Java project with directories below.
- Right click on the "src" folder and create a new Class File from New > Class.
- Give your Class name as "First" and click on "Finish" button.
- Right click on the folder "Demo_Test," and select Property.
- For our "Demo_Test" Test Suite, it will open the Properties window.
- From left side panel click on the option "Java Create route."
- Switch to Libraries tab and click on "Add External JARs" button.
- Locate the directory where you have downloaded the Selenium jar files, select the respective jars and click on "Open" button.
- Follow the same steps for the jars that come under the folder "libs."
- Open the folder "libs," pick all the corresponding jar files and then press the "Open" button.
- Click on the Apply and Close button after you have all the Selenium jar files in your Libraries tab.
- The image below shows the directory structure of our test suite "Demo Test," after adding jars of Selenium.
