Home >>Angular7 Tutorial >Angular7 Environment Setup
Angular7 Environment Setup
Angular7 Environment Setup
We will discuss the Environment Setup required for Angular 7 in this chapter. Installing Angular 7 includes the following-
Nodejs
Npm
Angular CLI
IDE for writing your code
Install Node.js
To run your Angular7 app, you should install the.js node. This manages certain browsers support npm dependencies when loading specific pages. It provides libraries required for running Angular project. Node.js serves as your localhost for your run-time environment.
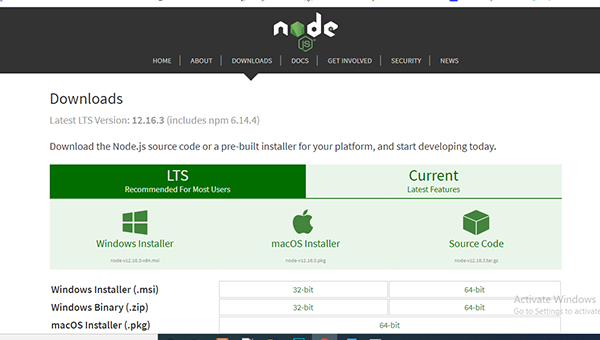
See how to install node.js: install-nodejs Or Just go to node.js official website https://nodejs.org/en/
Type node -v into the terminal to check if nodejs is installed on your system. This will help you see the nodejs version currently installed on your system.
Nodejs must be greater than 8.x or 10.x and npm must be larger than 5.6 or 6.4 respectively.
C:\>node
–v v10.15.1
If it's not printed, install nodejs on your system. Go to the Homepage, https:/nodejs.org/en/download/ of nodejs for installing nodejs, and install the kit depending on your OS.

Use npm to install Angular CLI
Install the required package, based on your operating system. Upon installing nodejs, npm will also be installed along with it. To check whether or not npm is installed, type npm -v in the terminal as shown below. The npm version will be shown here.
C:\>npm
–v 6.4.1
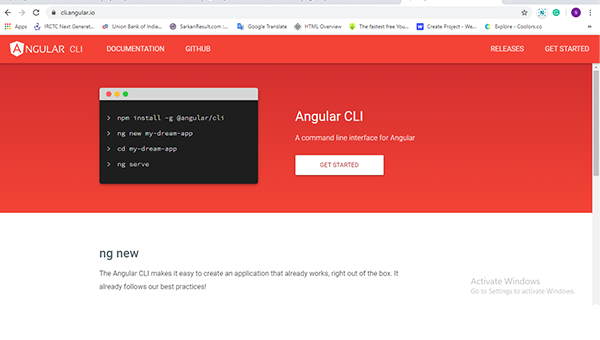
With the help of angular CLI, Angular 7 installations are very simple. Visit angular's https:/cli.angular.io/ homepage to get the command reference.

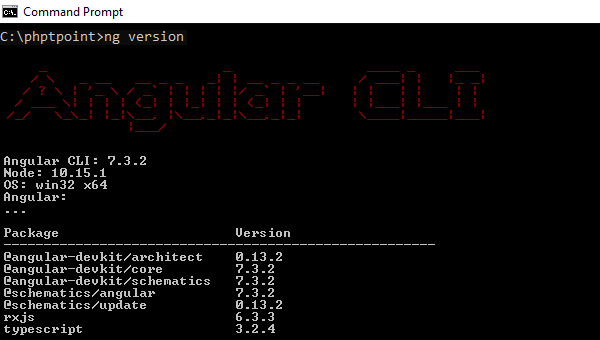
To install angular cli on your device, type npm install –g @angular/cli in your command prompt. Installation should take a while and once finished you can test the version using the − command below.
ng version
It will display angular-cli version details as well as other packages version as shown below

We 're done with Angular 7 install. In order to start working with Angular 7, you can use any IDE of your choice, i.e. WebStorm, Atom, Visual Studio Code.
